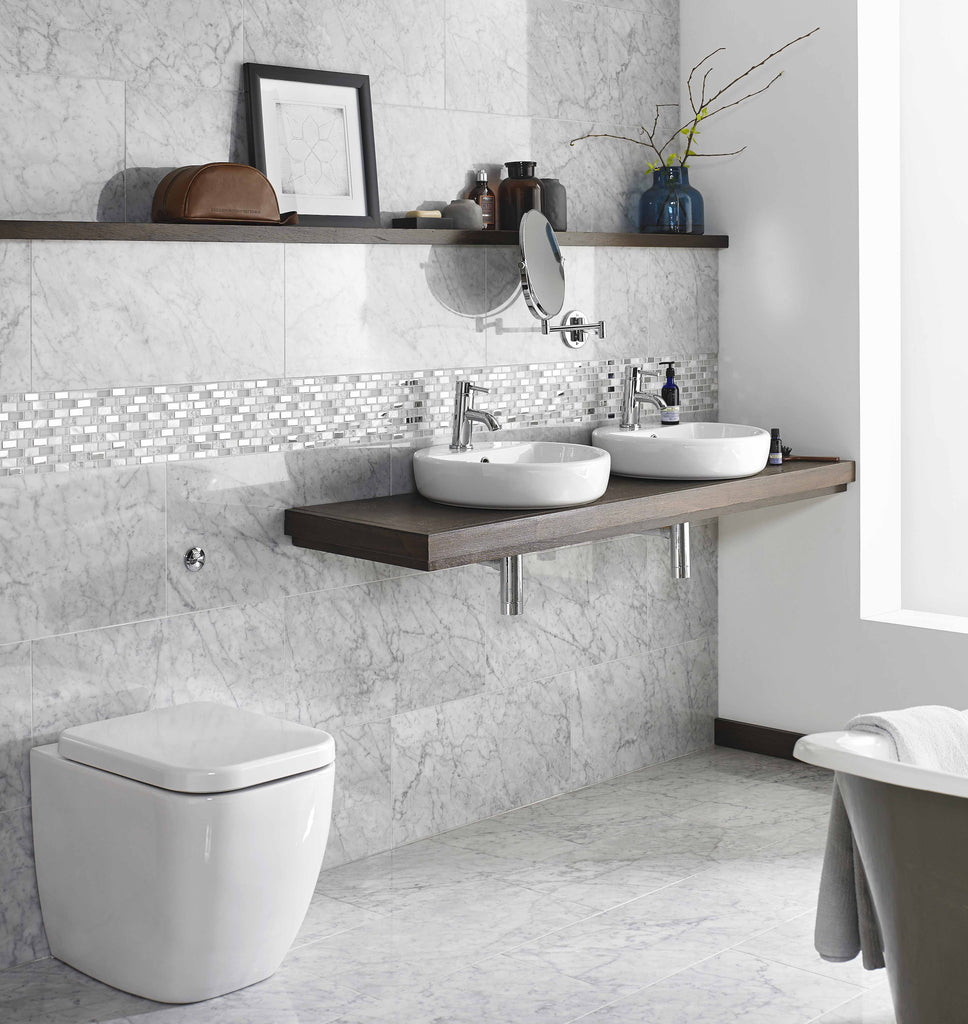
Step-by-Step Guide: How to Tile a Splashback

A well-designed splashback can add both functionality and style to your kitchen or bathroom. Tiling a splashback is a rewarding DIY project that can transform the look of your space. Whether you're a beginner or have some experience with tiling, this step-by-step guide will walk you through the process of tiling a splashback, helping you achieve professional-looking results.
Materials you will need:
- Tiles of your choice
- Tile adhesive
- Notched trowel
- Tile spacers
- Tile cutter or wet saw
- Level
- Grout
- Grout float
- Sponge
- Tile sealer (optional)
- Caulk (for finishing edges)
Step 1: Prepare the surface Start by ensuring that the wall surface is clean, dry, and free of any grease or debris. If necessary, use a mild detergent to clean the area thoroughly. Repair any cracks or imperfections on the wall and allow it to dry completely before proceeding.
Step 2: Measure and plan Measure the area you want to tile to determine the number of tiles you'll need. Consider using tile spacers to create even gaps between the tiles. Plan the layout by dry-fitting the tiles on the wall, making any necessary adjustments to ensure a balanced and visually pleasing design.
Step 3: Apply the adhesive Using a notched trowel, apply tile adhesive to a small section of the wall. Hold the trowel at a 45-degree angle and spread the adhesive evenly. Work in manageable sections to prevent the adhesive from drying too quickly.
Step 4: Install the tiles Carefully press each tile onto the adhesive, using a slight twisting motion to ensure a good bond. Place tile spacers between the tiles to maintain consistent spacing. Use a level to check that the tiles are straight and aligned correctly. Continue applying adhesive and installing tiles until the entire splashback area is covered.
Step 5: Cut tiles if needed If you encounter areas where full tiles won't fit, measure and mark the tiles that need to be cut. Use a tile cutter or wet saw to make precise cuts according to your measurements. Remember to wear safety goggles when cutting tiles.
Step 6: Allow adhesive to dry Allow the adhesive to dry according to the manufacturer's instructions. This typically takes around 24 hours, but be sure to check the specific drying time recommended for your adhesive.
Step 7: Apply grout Once the adhesive has dried, remove the tile spacers. Mix the grout according to the manufacturer's instructions. Use a grout float to spread the grout diagonally across the tiles, ensuring all gaps are filled. Remove excess grout from the tile surface using the edge of the float held at a 45-degree angle.
Step 8: Clean and seal After about 15-30 minutes, when the grout starts to set, use a slightly damp sponge to wipe away excess grout from the tiles. Rinse the sponge frequently and continue cleaning until the tiles are free from grout haze. Allow the grout to cure for the recommended time, then consider applying a tile sealer to protect the grout and tiles from stains.
Step 9: Finish the edges To give your splashback a polished look, apply caulk along the edges where the tiles meet the countertop or surrounding walls. Use a caulk gun and smooth the caulk with a damp cloth or your finger. Allow the caulk to dry completely.
Conclusion: Tiling a splashback is a satisfying project that can enhance the beauty and functionality of your kitchen or bathroom. By following this step-by-step guide, you can confidently tile your own splashback and achieve professional-looking results. Remember to take your time, measure carefully, and pay attention to details for a stunning finished product that will be the envy of your friends and family.


