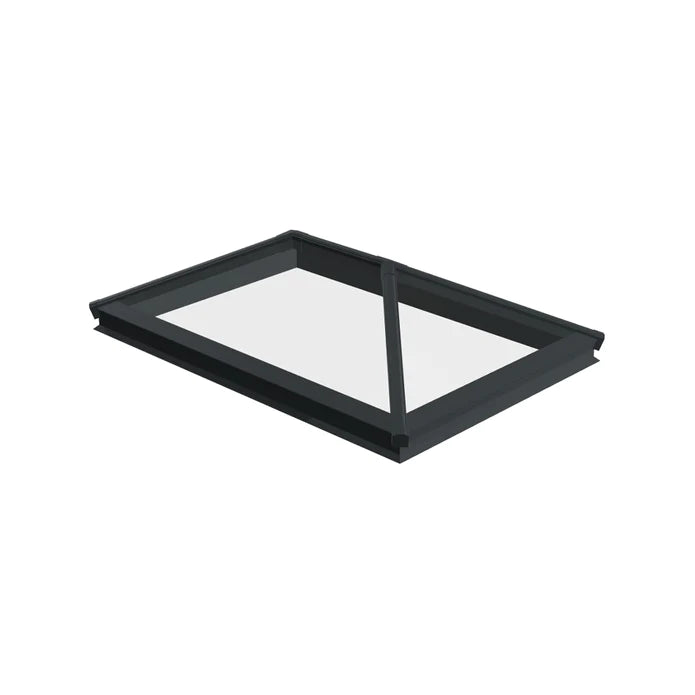
How do I plan for my roof lantern installation?

A roof lantern can add a stunning feature to any home, bringing in natural light and creating a spacious and airy feel. However, planning for a roof lantern installation can be a daunting task, especially if you're not sure where to start. Here are some tips to help you plan for your roof lantern installation:
1. Consider your space
The first thing to consider when planning for your roof lantern installation is the space where you want to install it. You will need to measure the area carefully and consider the placement of your roof lantern. Think about the height of your roof, the position of your existing windows and doors, and the layout of your room. You may need to make some changes to the room to accommodate the roof lantern, such as removing or adding walls, or changing the position of furniture.
2. Think about the design
The design of your roof lantern is also an important consideration. Think about the style of your home and choose a design that complements it. You can choose from a range of different materials, including uPVC, timber, and aluminium. Each material has its own benefits and drawbacks, so make sure you do your research before making a decision.
3. Choose a reputable installer
When it comes to installing a roof lantern, it's important to choose a reputable installer who has experience in this area. Look for an installer who is registered with a professional trade organisation, such as FENSA or CERTASS, as this will give you peace of mind that they have the necessary qualifications and experience to carry out the work to a high standard. You can also ask for references and look at online reviews to get an idea of their previous work.
4. Get a quote
Once you have chosen an installer, you will need to get a quote for the work. Make sure you get a detailed quote that includes all the work that will be carried out, as well as the cost of materials and any additional expenses, such as scaffolding. You should also ask about the timescale for the work and whether there will be any disruption to your home during the installation process.
5. Prepare your home
Before the installation takes place, you will need to prepare your home for the work. This may involve moving furniture or removing obstacles to give the installer clear access to the area where the roof lantern will be installed. You should also make sure that the area is clear of any debris or hazards, and that the installer has access to electricity and water if needed.
6. Enjoy your new roof lantern
Once the installation is complete, you can sit back and enjoy your new roof lantern. Make sure you follow any maintenance guidelines provided by your installer to keep your roof lantern in top condition for years to come.
Planning for a roof lantern installation can seem overwhelming, but by following these tips, you can ensure that the process runs smoothly and that you end up with a beautiful feature that enhances your home.


